
Navigation
Navigating the Whitsundays is mostly line of sight. The islands are large and close together, so you can usually see your next destination from where you are. The challenge lies beneath the surface: coral reef rises steeply from deep water, and most reefs and shallow areas have no navigation aids at all. Good charts, a sound plan and a sharp lookout are what keep you safe.
Navigation skills you’ll need
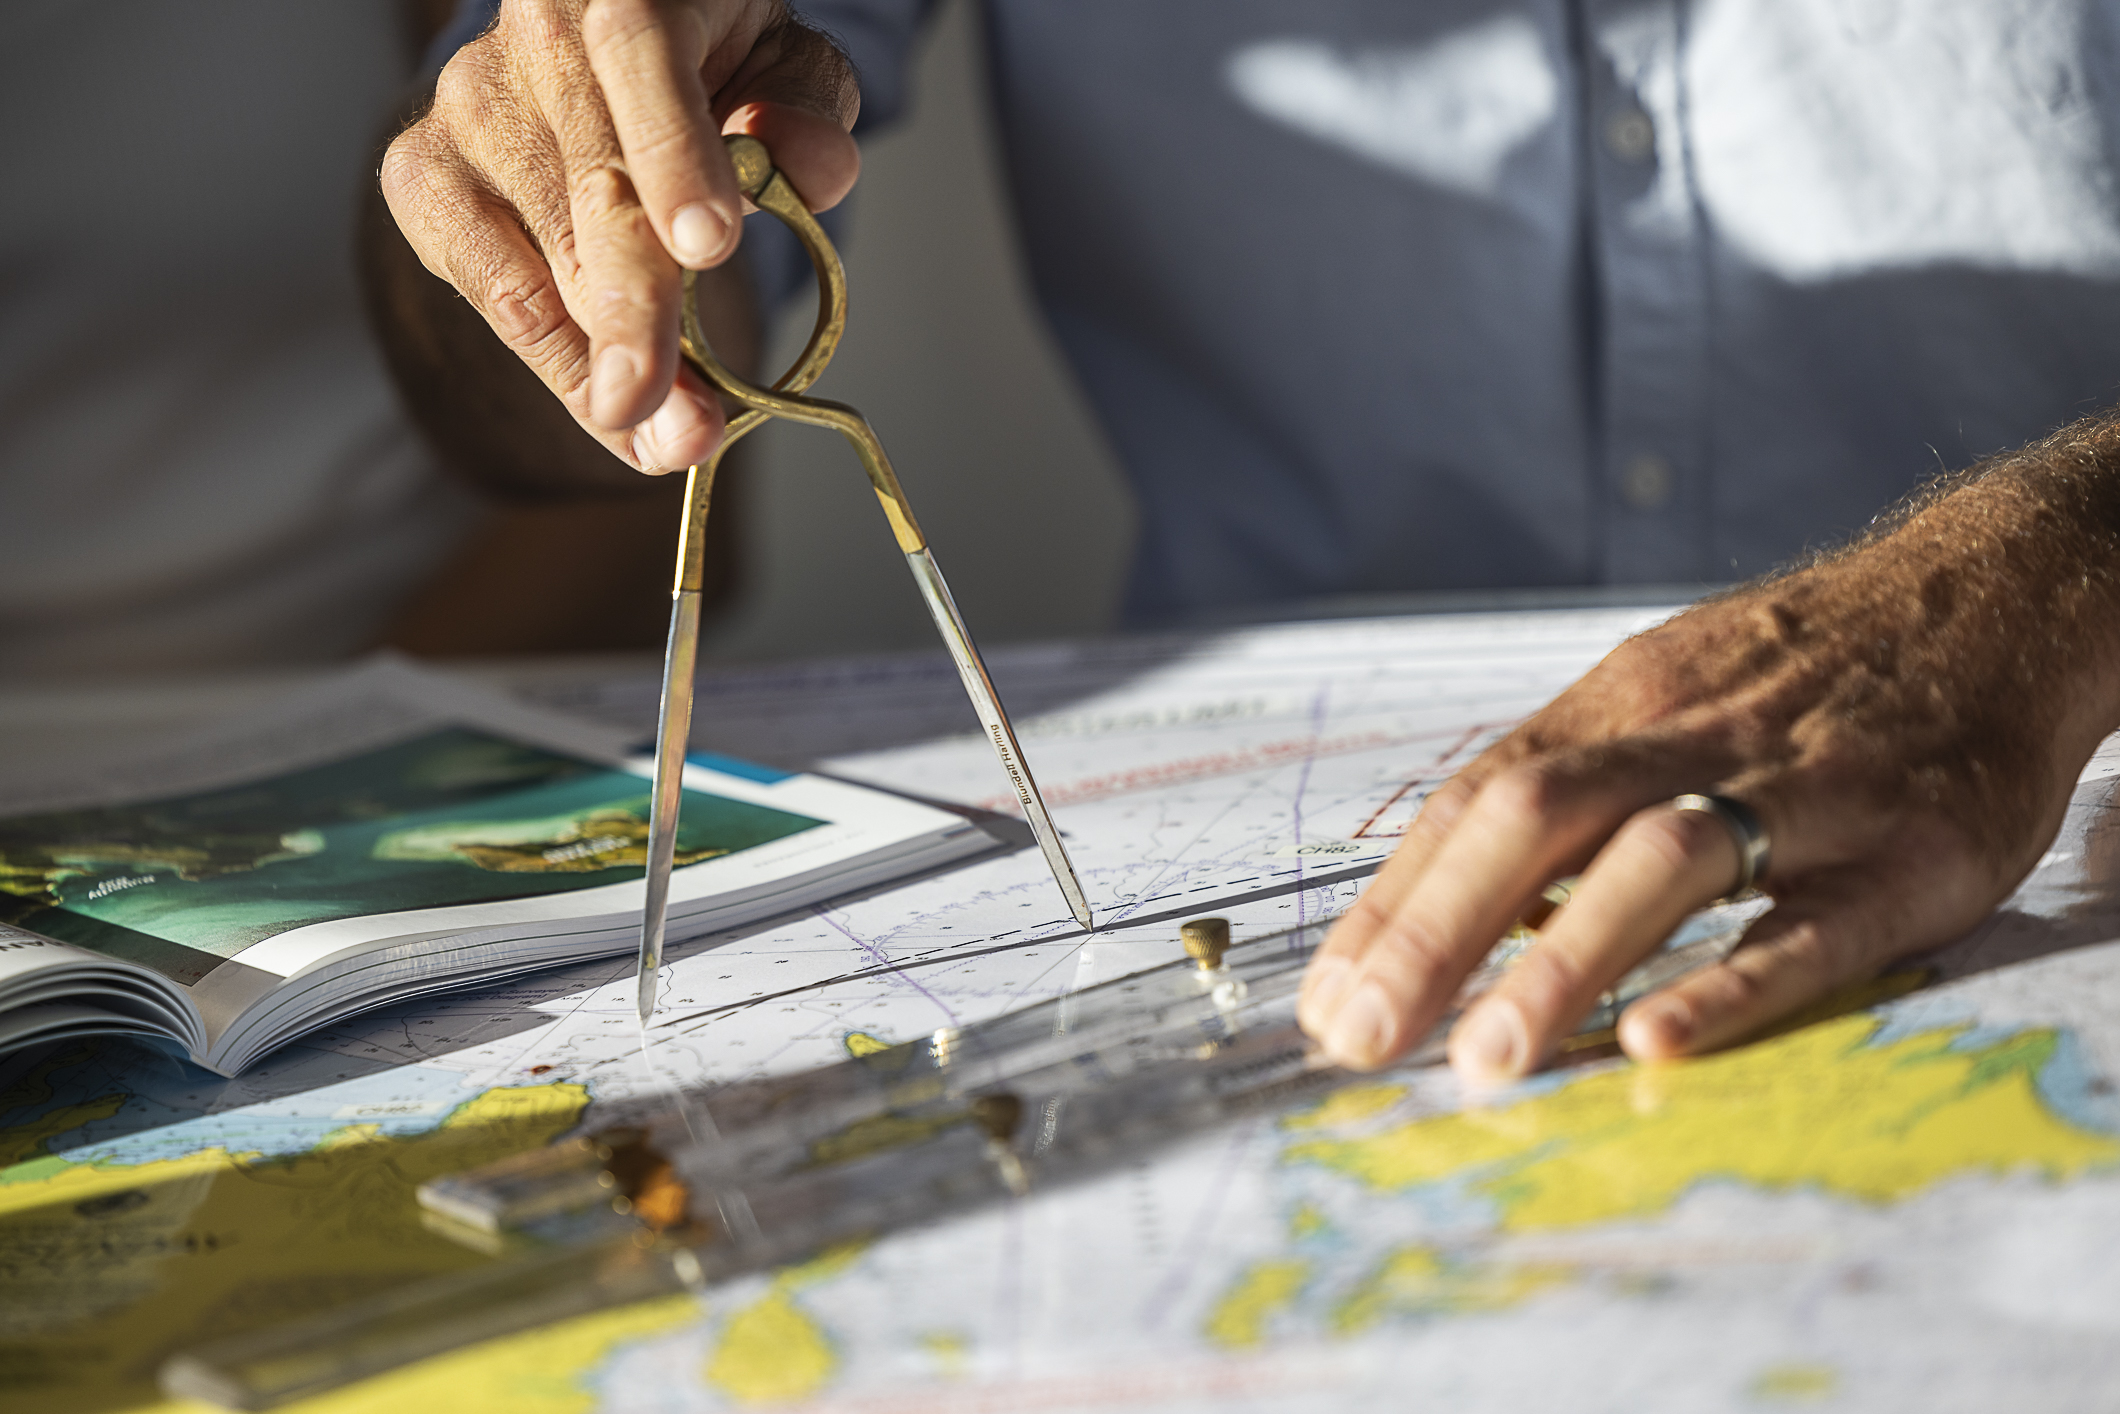
The skipper must be able to navigate safely using only a chart and compass. Your navigation skills are assessed at the pre-charter briefing, and you can’t depart until you’re confident with both. You should be able to:
- Read a chart and understand its symbols and features
- Understand how a compass works
- Plot a course to steer
- Confirm your position using the compass, land transits and depth
- Plot a position on the chart from latitude and longitude
- Work out how long a passage will take, allowing for distance, boat speed and tidal currents
If you’d like more confidence, book a Training Guide for your first afternoon, after your boat briefing.
Charts on board
Every boat carries three charts, along with a copy of 100 Magic Miles, the local cruising guide with aerial photos of each anchorage.
- AUS 252, The Whitsunday Islands
- AUS 825, Whitsundays to Bowen
- AUS 254, detailed plans for Stonehaven, Fitzalan Passage and Lindeman Island
Charts are your primary source of navigation and work differently from road maps. Depths are shown at low tide, and distances are measured in nautical miles. Use the charts to plan your route and identify hazards, and record them on the Passage Planner provided at your briefing. The skipper must complete a Passage Plan before departing each day and update it as plans change.
Latitude, longitude and distance
The side of the chart shows latitude in degrees (°) and minutes (‘). Each degree is divided into 60 minutes, and one minute of latitude equals one nautical mile (1,852 m). On chart AUS 252 you’ll see markings such as 20° 10′, then a mark every 5′, so the distance between 10′ and 15’ is 5 nautical miles.
A boat travelling at 7 knots covers 7 nautical miles in an hour. Always measure distance on the latitude scale at the side of the chart, never the longitude scale along the top.
Plotting a course to steer
- Line up the parallel ruler between your current position and your destination
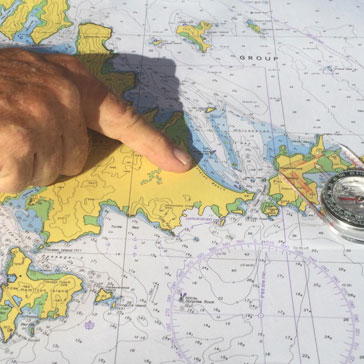
- Walk the ruler across the chart to the nearest compass rose until its edge crosses the centre dot. Read the bearing in the direction of travel. This is your true heading
- Subtract 8° for magnetic variation (about 8° 15′ east in the Whitsundays) to get the compass heading to steer
- Allow for tidal currents, which can push you off course
- Check the line is well clear of reef and shallow water. If it isn’t, plot two or three legs that steer around the hazard
- Measure each leg on the latitude scale, add them up, and divide by your average boat speed to estimate the time in hours
Wind, waves and tides can add 30% or more to your passage time, so build that into your plan. Line-of-sight navigation is usually easy, but rain squalls and smoke haze can hide the next island, so always have your course plotted before you go.
Using land transits
Lining up two fixed features, such as a headland and an island behind it, gives you a simple and reliable position line. When two features stay lined up, you’re on that line. Transits are especially useful for confirming your GPS and for steering through narrow passages.
GPS and instruments
Instruments are an aid to navigation, not a replacement for it. Relying on instruments alone is the biggest single cause of boat groundings.
- GPS chart plotter. Every boat has a colour GPS plotter. It can be inaccurate in close quarters, and shallow reef may still show as blue water. Confirm your position on the paper chart and with a visual check. Please don’t enter waypoints or change any settings, as reprogramming requires a return to base
- Depth sounder. It reads only what’s directly beneath the keel, not what’s ahead. On a catamaran, one hull can touch reef while the sounder still reads 18 m under the other. The depth alarm must be set to 2 m below the keel and active at all times. Check its calibration against the lead line before you depart
- Autopilot. Fitted to sailing catamarans only, and not permitted on power catamarans. It steers in a straight line with no obstacle avoidance and will drive you onto a reef or another boat. Keep a lookout at all times, and make sure whoever is on watch knows how to switch it off. Never try to overpower it by hand, as this breaks the steering
Reading the water
Coral grows towards the light and can’t grow above the low tide mark. That creates the typical Whitsunday profile: deep water, then an underwater cliff of reef rising to the surface or awash at low tide.
- Nearly every anchorage has fringing reef extending a long way from shore, drying at low tide
- Isolated coral heads, usually yellow or brown from above, can sit outside the main reef line
- Polarised sunglasses make reef far easier to see
- Reef is hardest to see with the sun low or ahead of you, which is why boats are anchored by 4:00 pm
- Keep your charts and 100 Magic Miles handy while underway, and confirm your position regularly so you never lose track
Rules of the road
The International Regulations for Preventing Collisions at Sea apply to every boat on the water. Make your actions clear and early so other skippers can read your intentions, and never assume the other boat knows the rules.
- Keep a good lookout at all times, especially in poor weather or when using the autopilot
- Travel at a safe speed. Slow to no more than 3 knots within 70 m of any reef, the shore, another boat or a navigation aid, and when approaching any anchorage
- If an approaching boat’s bearing stays steady, there’s a risk of collision. Change course or speed early
- Give way to boats approaching on your starboard (right) side
- When meeting head on, both boats turn to starboard, clearly enough to be obvious
- An overtaking boat gives way
- Power gives way to sail, but don’t expect large ships to give way. Give all large vessels a wide berth
- In narrow channels, keep to the starboard side and pass oncoming boats port to port. Don’t cut corners, as fringing reef lines most channels
- Don’t anchor in channels, especially near markers
Buoys, marks and beacons
Australia uses the IALA System A. Each mark has its own combination of colour, shape, top mark and light, and you need to recognise them and pass on the correct side. There are very few marks in the Whitsundays, so never rely on them alone.
- Lateral marks show the sides of a channel. Heading upstream (generally north, or into an inlet or river), keep red port marks on your left and green starboard marks on your right. Heading downstream, reverse this
- Cardinal marks show where the safe, deep water is. North: both top marks point up, uninterrupted quick flash. South: both point down, 6 quick flashes and a long flash. East: an egg shape, 3 quick flashes. West: a wine glass shape, 9 quick flashes
- Isolated danger marks sit on a single hazard such as a rock or wreck, with navigable water all around. Two black spheres on top, two white flashes at night
- Safe water marks show navigable water all around, such as mid-channel. A single sphere on top, one long white flash every 10 seconds
- Special marks identify features such as cables or pipelines. Check your chart for how to pass
Poor visibility
Rain squalls and smoke haze occasionally reduce visibility. Where possible, delay leaving your anchorage or marina until it clears. If heavy rain approaches while you’re underway:
- Furl or drop all sails and slow down, as squalls usually bring stronger wind and a change in direction
- Note your position, compass course and any boats or land nearby
- Work out a safe course and the time to your destination
- Proceed slowly with navigation lights on, or stop the boat completely if needed
Navigation
1/3


Areas of Extra Caution
| Pioneer Rocks |
submerged reef extends well north and south of the beacon. Keep well clear |
| Unsafe Passage |
fringing reef on both sides. Stay between the port and starboard markers |
| Daydream Island |
reef on the southern side extends a long way south |
| South Molle Island (south-west) |
unmarked reef extends far from shore and is only awash at low tide |
| Hook Passage |
pass the marker at the western entrance to the south. It warns of a large submerged reef to the north |
| Double rock (north-east Hook Island) |
usually covered at high tide, and GPS plotters aren’t accurate here |
| Black Island, Langford Reef & Stonehaven |
reef extends more than 1 nautical mile from shore. Follow the routes in 100 Magic Miles and chart AUS 254 |
| Fitzalan and Solway Passages |
narrow, with steep waves when wind is against tide. Follow the marked routes and avoid in south-easterlies over 15 knots |
| Henning and Plum Pudding Islands |
no navigation aids, with reef surrounding and between both islands |
| Hamilton Island |
stay clear of the runway flight path and the reef on approach to the marina |